There are many elements which can easily transform a garden into a location that mimics a veritable garden of Eden. While there is no doubt that plant life and shrubbery will certainly come into play, we need to remember that stonework can have an equally (if not more profound) impact upon our your garden is perceived. This is why a growing number of homeowners are employing tiles and similarly stones in order to enable this environment to truly “pop”. Still, the installation process can be a bit tricky. Let’s take a look at some important suggestions in order to ensure that your project can be completed without any unforeseen complications.
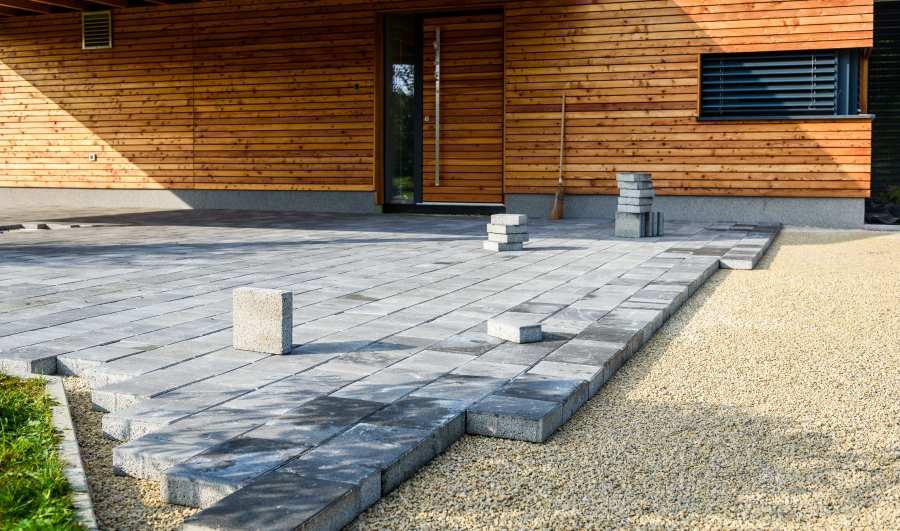 Initial Preparation
Perhaps the most important stage of tiling a garden involves how the substrate (the underlying surface) is prepared. As this video illustrates, you will need to ensure that the ground is level that that it can properly drain any water. Furthermore, it may be wise to apply a thin layer of gravel if you happen to be dealing with soils that are predominantly clay. Gravel will allow water to percolate as opposed to puddle in place. Assuming that the ground is flat and level and that you have already determined the size of the area to be tiled, we can moved on to the next step.
Tile Installation
Once you have squared off the associated area, it is best to confirm that the angles are true with a t-square or similar measuring tool. Even a slight deviation from 90 degrees can cause the rows of tiles to become crooked as you progress. Begin in one corner and lay one tile at a time until a single row is completed. It is best to leave a gap of one centimetre or more between each tile; often referred to as “Japanese spacing”. These joints can then subsequently filled in with sand or gravel. Assuming that you have completed a row, use a rubber mallet to gently tap down each tile so that their surfaces are flush with one another. Repeat this process until the entire area has been addressed.
 Final Suggestions and Maintenance Tips
It is wise to “eyeball” the tiled area once the project has been completed in order to note any anomalies or segments that may be slightly out of place. These can then be corrected before the tiles have a chance to set in their positions. It might also be a good idea to wash down the entire surface with a hose or mop in order to remove any dirt atop the tiles.
Keep in mind that the tiles are likely to settle after the first few rainstorms. This is completely natural and usually not a cause for concern. If you notice that one slab happens to be lower than the rest, simply remove it and place a handful of gravel or dirt where appropriate. Once again, tamp it down in order to ensure a firm foundation.
On a final note, some types of stone and tile may fade over time due to the effects of the sun. This is particularly common if you have purchased synthetic blends. It could be wise to apply a transparent sealant to the tiles immediately after they have been installed. This will help to protect their colours and many formulations provide an additional waterproofing agent; helping to expend the lifespan of the tiles themselves.
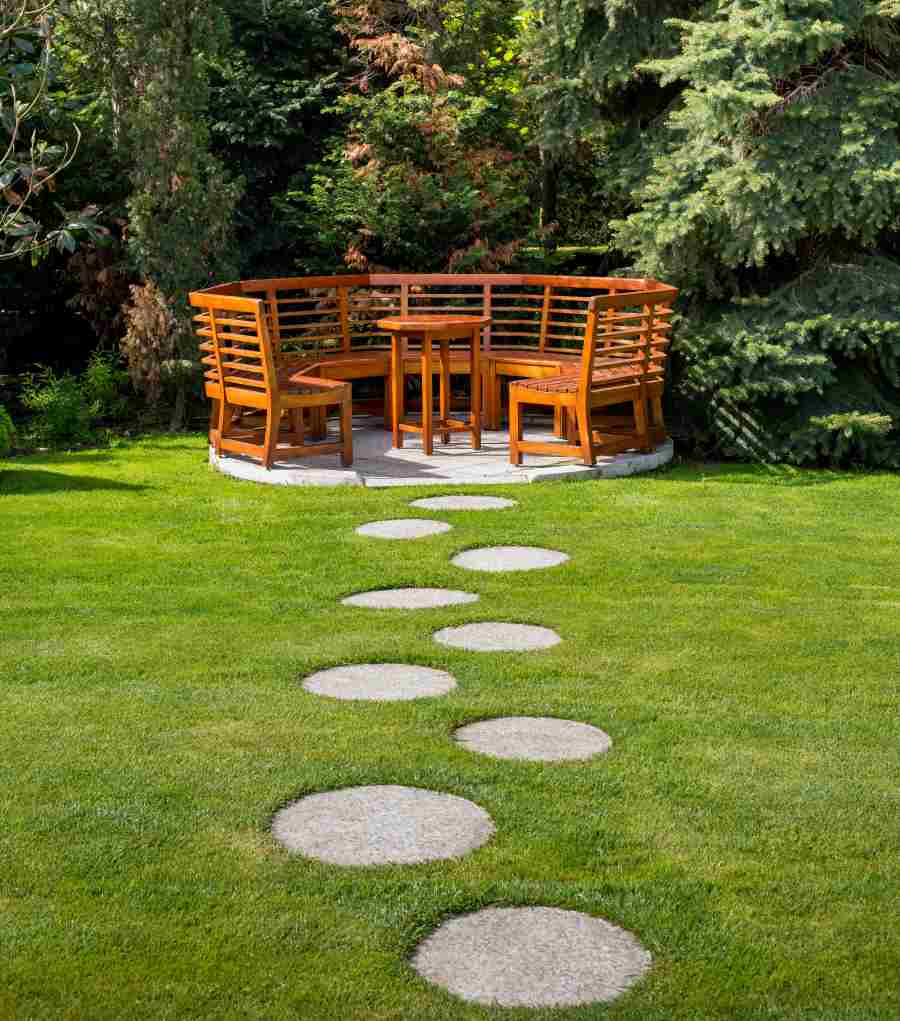
It has been shown that a manicured garden can add as much as 20% to the value of your properly and a selection of tiles will undoubtedly increase its visual appeal. Please feel free to refer back to this article for guidance or inspiration in the future.