Wallpaper instantly sets the tone of a space. Clever use of patterns, shades and configurations can help you create a mellow mood, instil a sense of energy or highlight a feature of your home.
To get the right look for your space, take time to think how you want to use it and what mood you want to create. For example, a muted wallpaper with a subtle pattern is ideal for a relaxing bedroom while a busier design could boost the appeal of your living room.
Think about your own tastes as well. What look do you like – plain or patterned, muted or multi-coloured? Finally, consider the style of the room you’re papering. Is it casual or formal, traditional or contemporary? Is there something you’d like to highlight?
Follow our steps to get the look you want, from sample to final result.
This Little Greene pattern was drawn from a document from the 1920s. It’s available in five colourways and is priced from £94.50 per roll.
Order samples
Once you’ve pinpointed your style, it’s time to send off for samples. But beware: a pattern you’ve viewed on your computer, phone or tablet can look very different in real life. Even in store, the lighting and surroundings can make something appear warmer or colder, depending on the type of light and materials used. That’s why it’s so important to order samples to get a realistic idea of colour, texture and the scale of a design. Stick the samples on the wall of the room you want to paper and study them in both artificial and daylight – the effect can vary considerably.
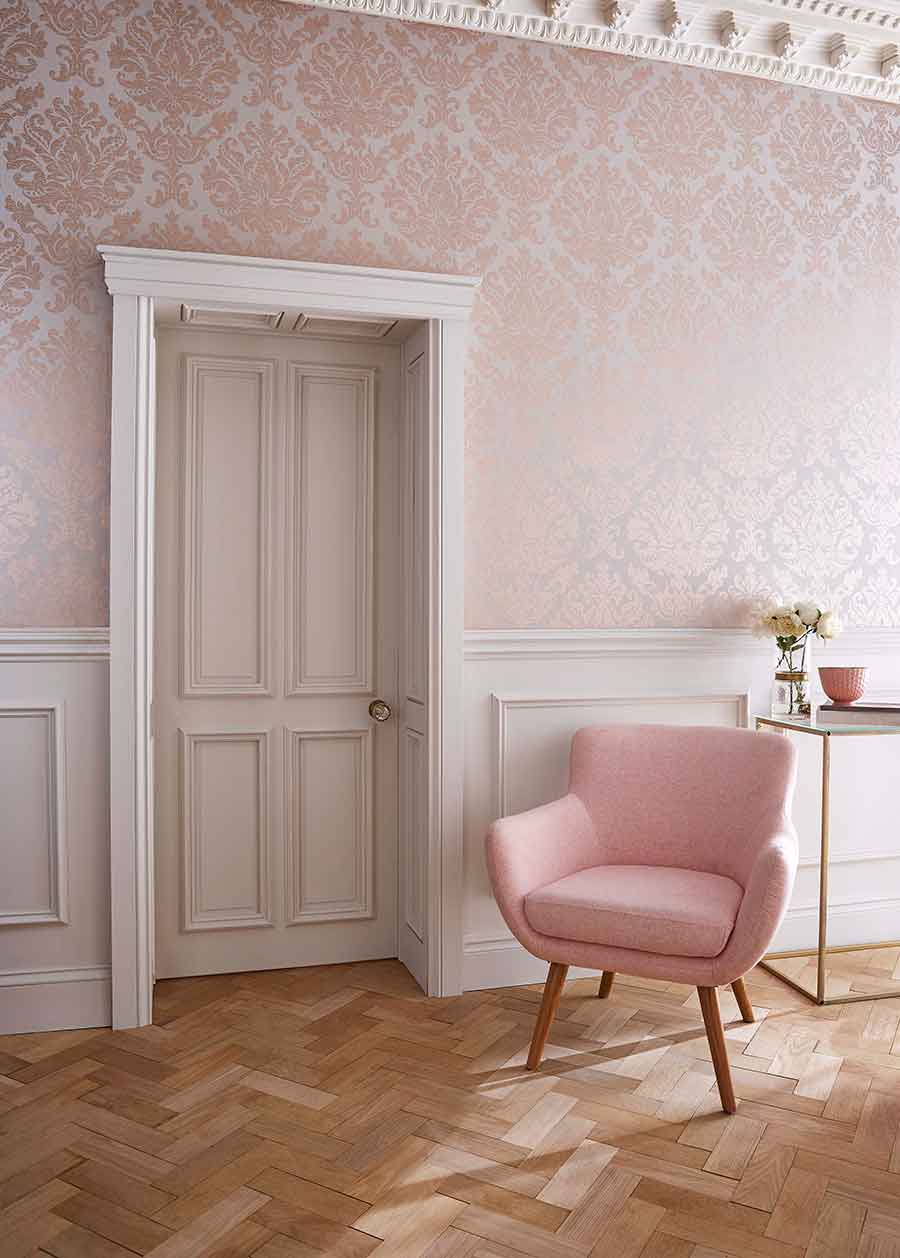
Fusing soft rose gold metallic damasks with a sophisticated taupe palette, Antique Taupe from Graham & Brown is priced £40 per roll.
Note the batch number
Once you’ve chosen a pattern, make sure you note down its batch number to use when ordering. This is important because colours and, in some instances, the finish, can vary between batches. When your rolls of wallpaper arrive, check they bear the same batch number to avoid any unpleasant surprises.
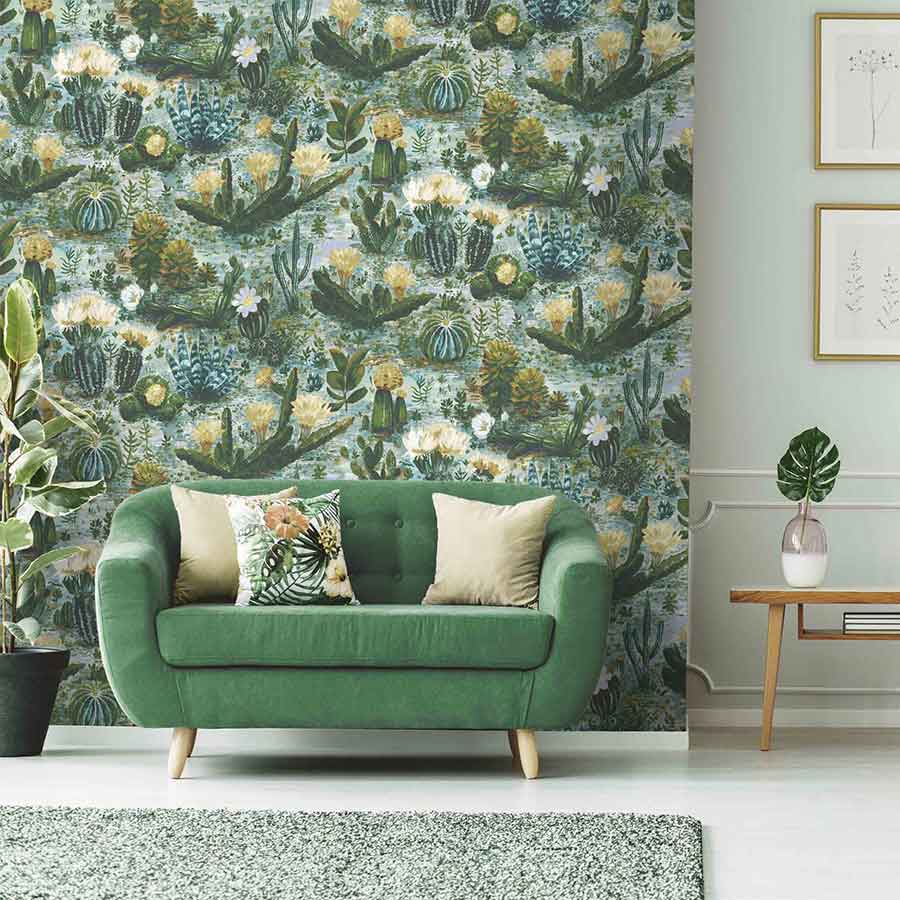
This hand-painted watercolour cactus design by Woodchip and Magnolia is priced £99 per roll.
Know how much you need
Take away the stress of working out how much wallpaper you need by using one of the many online wallpaper calculators. Just enter the dimensions of the area you want to paper, then define the sizes of the windows and any areas you don’t want to cover. The calculator will then do the hard work for you. Before you order, add some extra rolls to allow for mishaps or miscalculations.
Asterid-Lantern from Little Greene’s Archive Trails II collection is a reinterpretation of a painting from the mid 20th century. It’s priced £196 per roll.
Paper the kitchen and bathroom
Kitchens and bathrooms need paper designed for humid rooms. It’s usually made of water- and wash-resistant vinyl with a special coating or sealant.
Before you buy, check the label to see to what degree the wallpaper can be cleaned. Look for terms such as wash-resistant, highly wash-resistant, scrub-resistant and highly scrub-resistant. If you have your heart set on a paper that’s only spongeable or can’t be cleaned at all, use Polyvine’s decorator’s varnish to protect it.
Discover more ways to add value to your bathroom without breaking the brank.
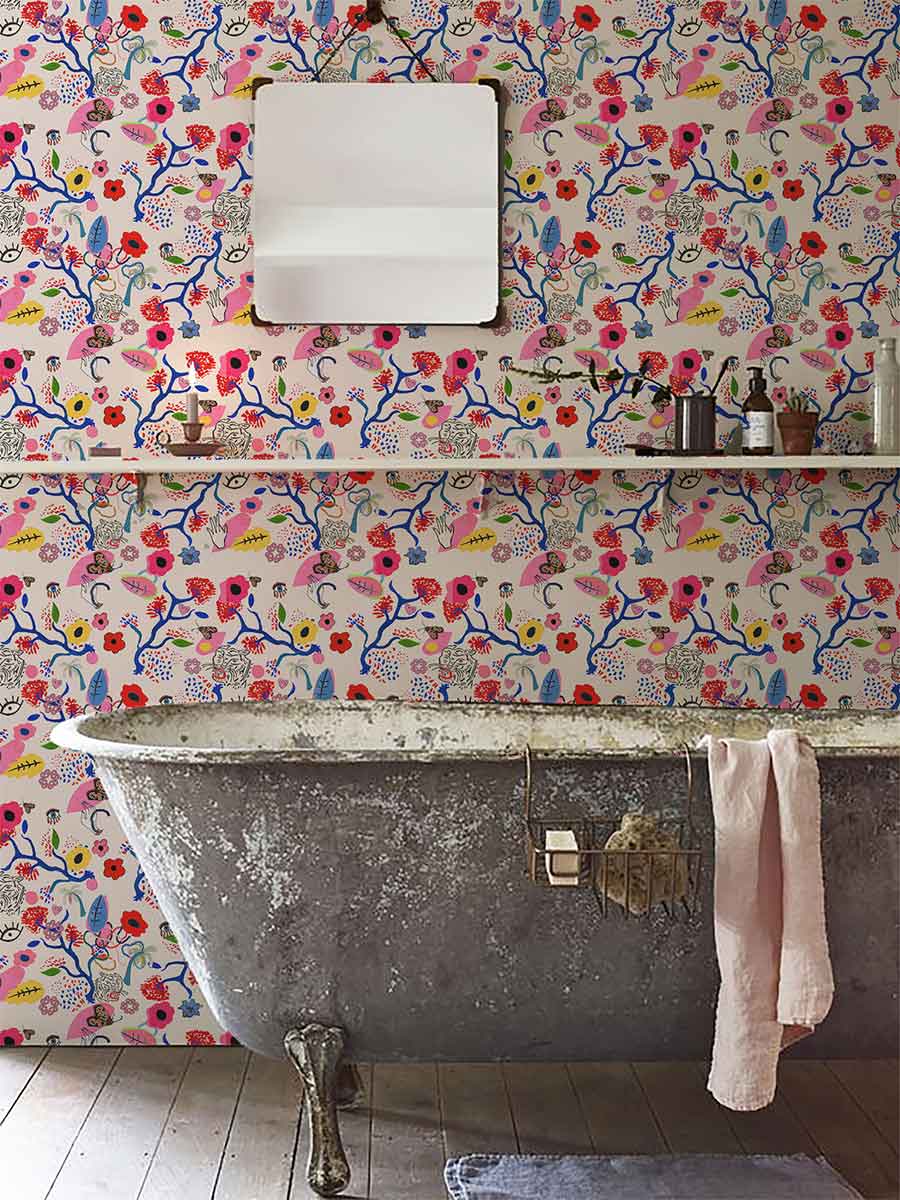
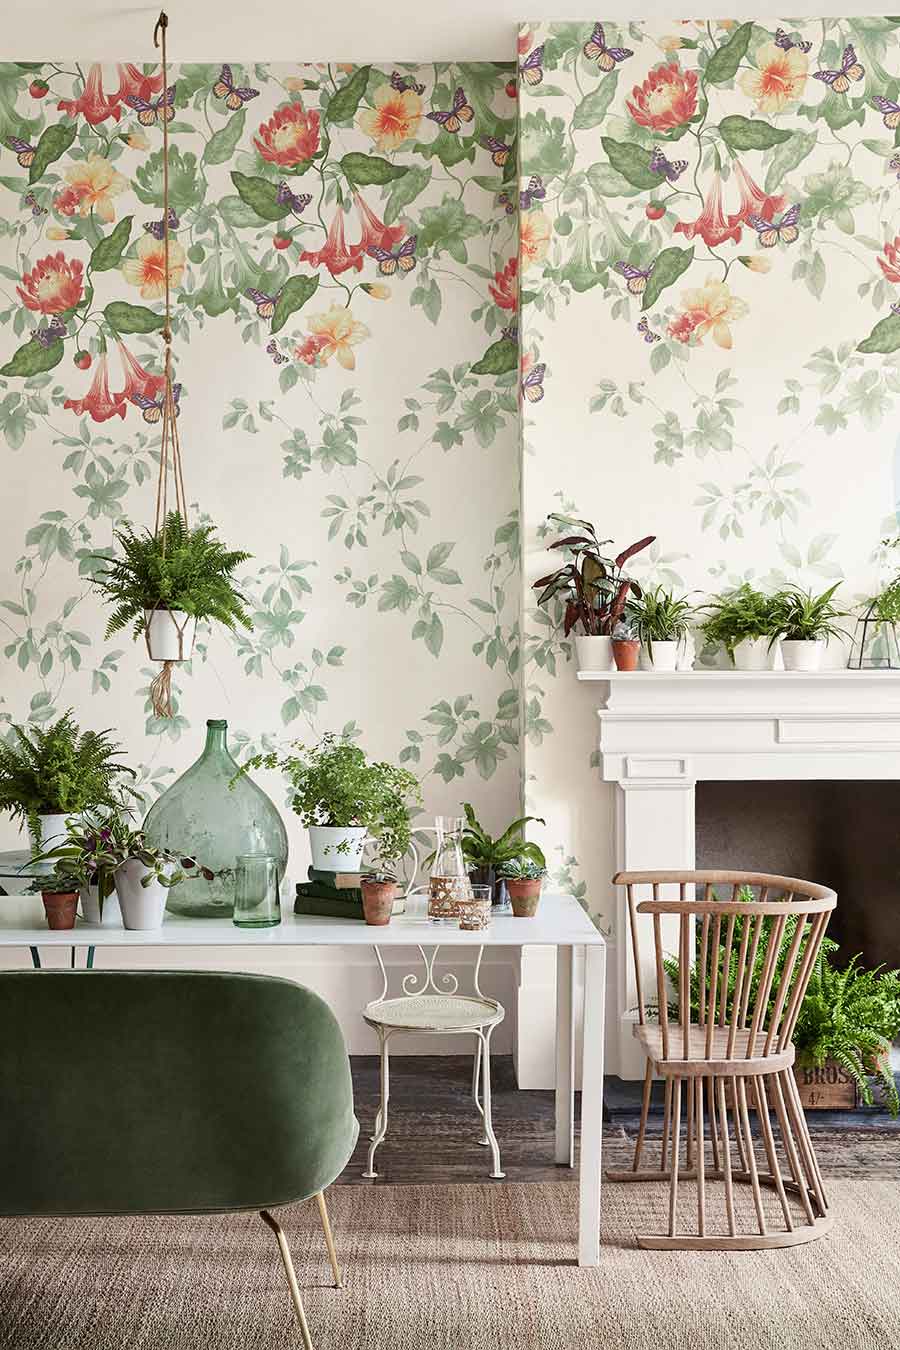
Doodle Bugs is one of a series of bespoke wallpapers by Jessica Russell Flint. It’s made to order and printed in the UK.
Be prepared
Preparation is key to the finished result, so don’t be tempted to rush this part of the process.
“Prepare the wall for wallpapering by making it smooth. Fill any holes or bumps to ensure you have a smooth wallpapering surface,” advises David Mottershead, managing director at Little Greene.
Start by removing old wallpaper by scoring the wall with the edge of a scraper, soaking or steaming the wall and then scraping the paper from the wall. Remember to scrape off the glue, fill any holes with filler and let the wall dry for at least a couple of hours.
If your wall is in really bad shape, you may need to have it plastered before applying any wallpaper. “Tap your plaster lightly with the handle end of a screwdriver, and if the sound changes to a hollow sound on any part of the wall, your plaster will need looking at before papering,” David adds.
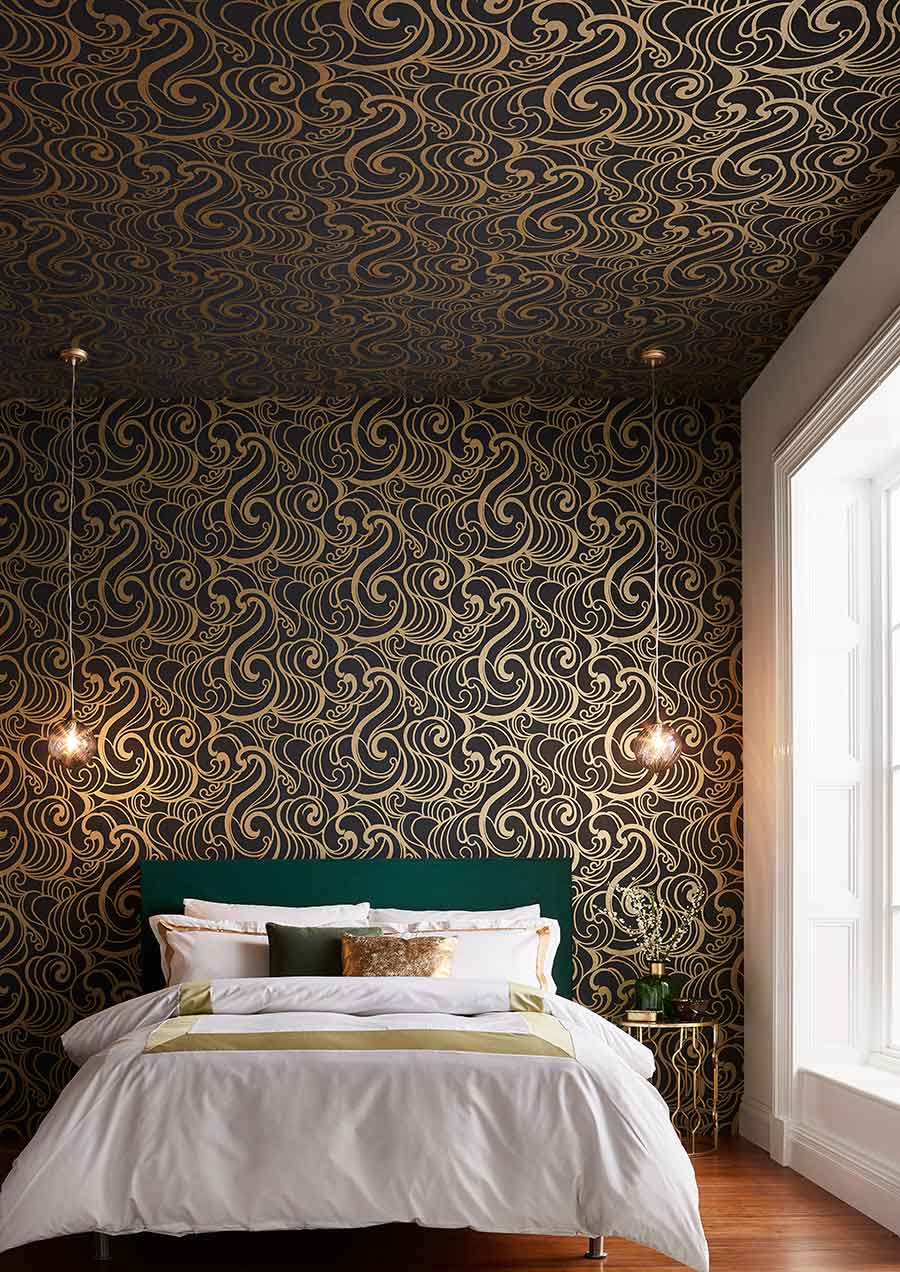
Hula Swirl Gold Noir from Graham & Brown is designed by Barbara Hulanicki and priced £50 per roll.
Line your walls
Lining paper isn’t a necessity but it’s perfect for covering over lumps, bumps and blemishes to give your wall a smooth surface ready to be wallpapered.
“Lining paper should be cross-hung (applied horizontally) if you’re going to hang a wallpaper on it,” advises David. “This will prevent the glue from the top wallpaper lifting the joints of the lining paper.”

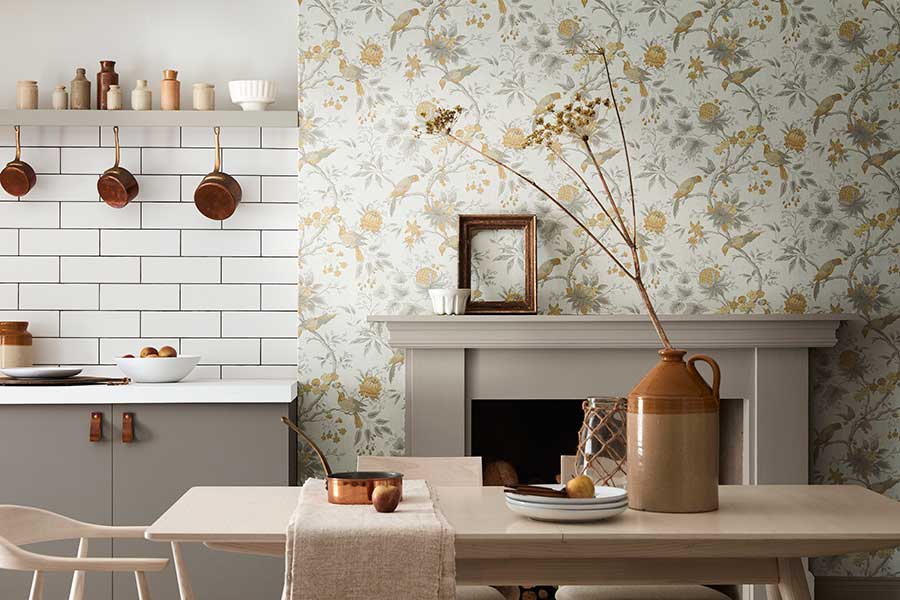
Loriini-Dorian is a surface-printed design featuring exotic birds and oriental blossom. It costs £94.50 per roll from Little Greene’s Archive Trails II collection.
Measure and cut wallpaper
Measure the height of the wall and add 100mm to get your drop length. Unroll the paper on the pasting table – “At this point, double check you have your pattern the right way up,” says David. “It sounds obvious, but it’s an easy mistake to make.”
Next, measure out the drop length on the back of your paper and draw a straight pencil line across the width, then use wallpaper scissors to cut along the line. Check your first drop dry against the wall before you cut any more, and bear in mind that if your ceiling height varies, you’ll need to cut each drop one at a time.
Top tip: number each drop so you know which one goes where.
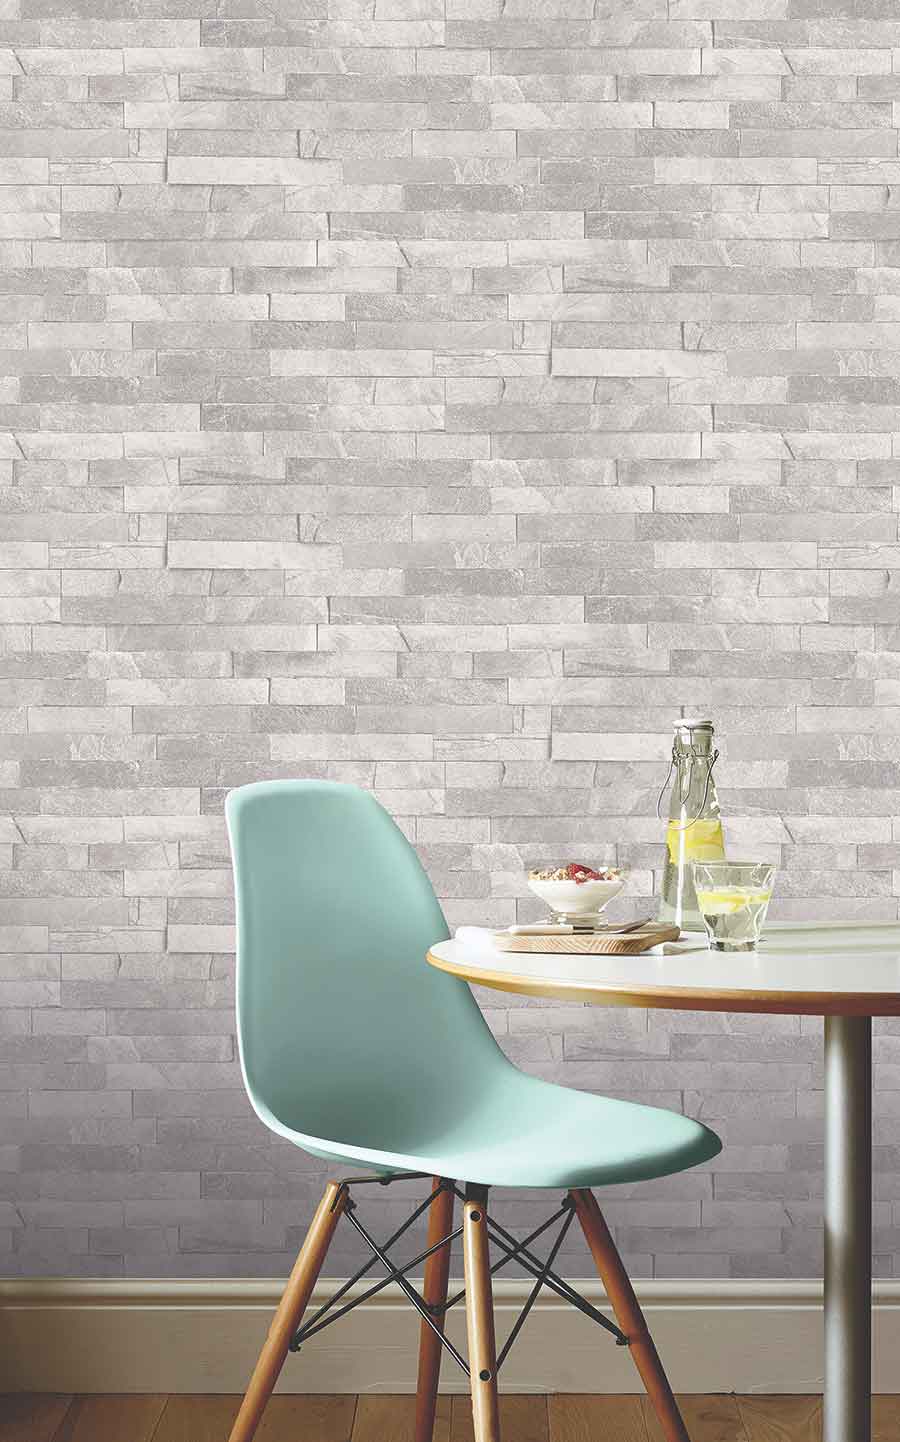
Create a contemporary loft look with this Diamond Slate wallpaper in Dove Grey from Arthouse. It’s £13.95 per roll at Homebase.
Prepare to paste
When you’re ready to start pasting, place your wallpaper with the pattern facing down on the pasting table. Use a good quality wallpaper paste and allow time for it to soak into the paper. “Generously paste the wallpaper and fold it in on itself as you go, so you have a more manageable size paper when ready to put it on the wall,” David says.
You’ll find a step-by-step guide to applying adhesive and folding wallpaper here.
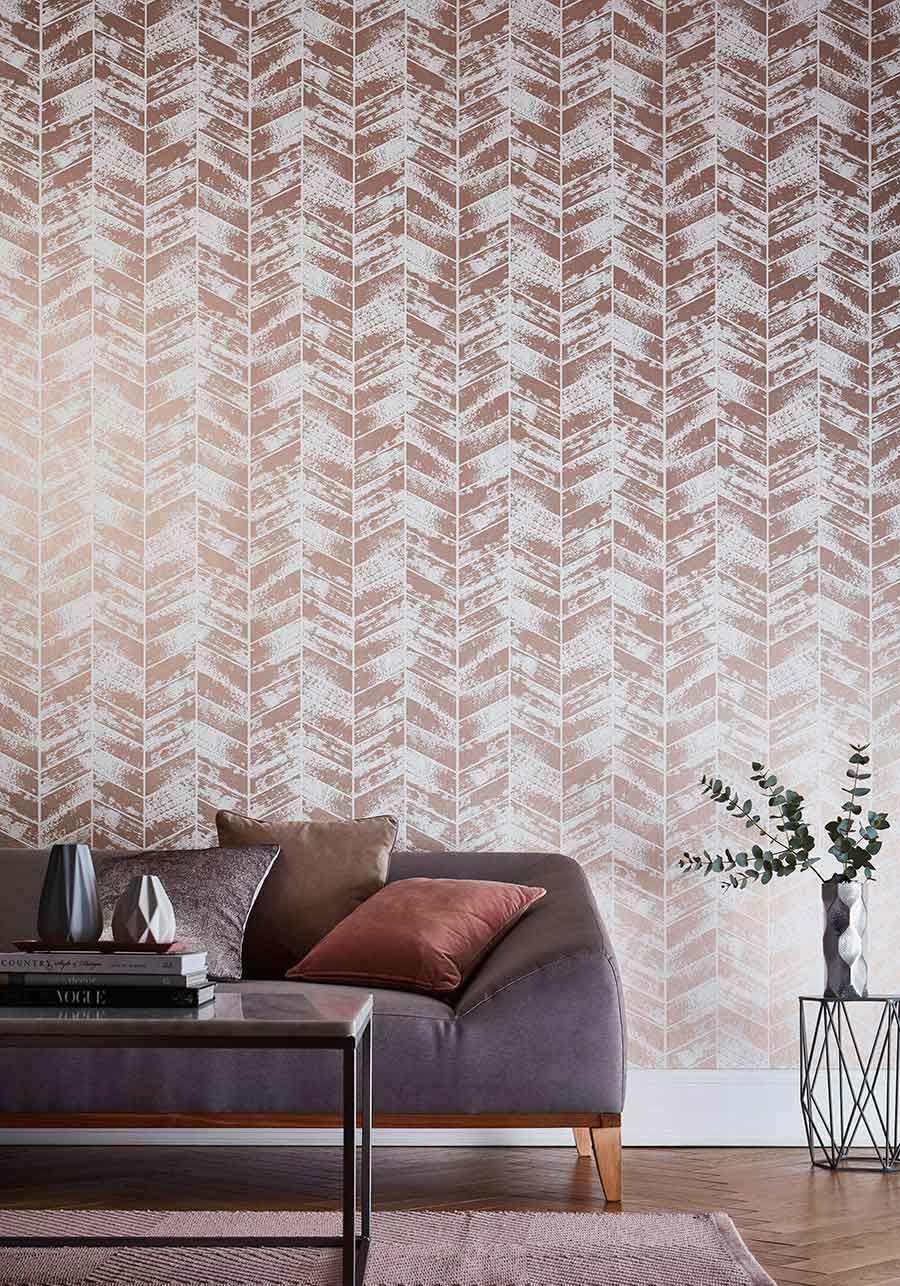
This Insignia Rose Gold features hand-painted brushstrokes that suggest natural wood grain. It’s £40 per roll at Graham & Brown.
Get ready
Before you hang your paper, spend a few minutes watching “how to” videos online. B&Q, Homebase and Wallpaper Direct have some great resources that will save you time and making costly mistakes.
If you prefer paint, discover which finishes to use where with our introductory guide.